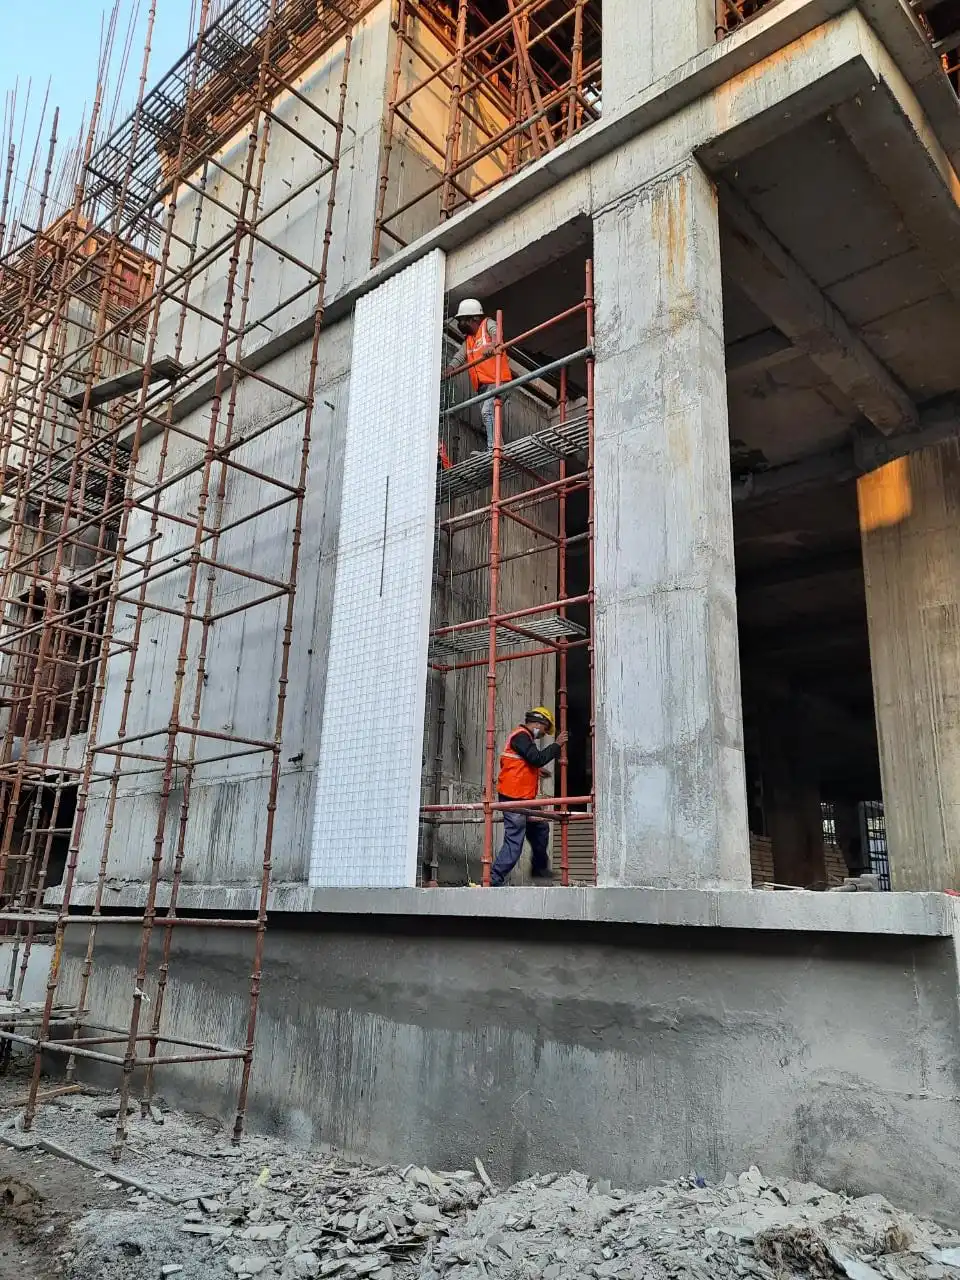
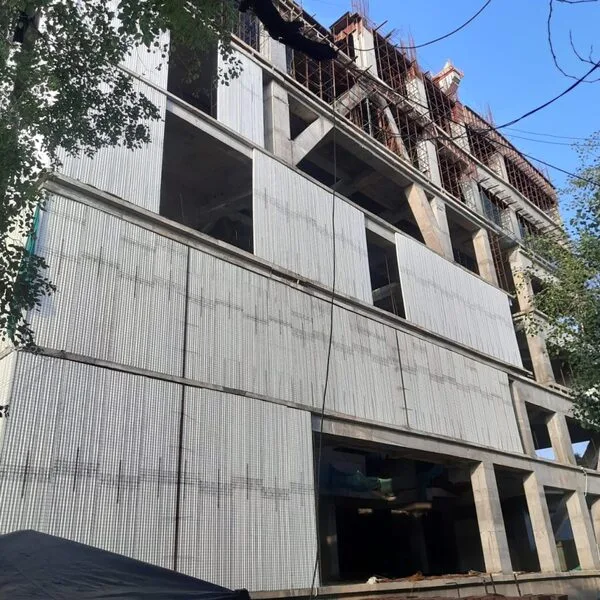
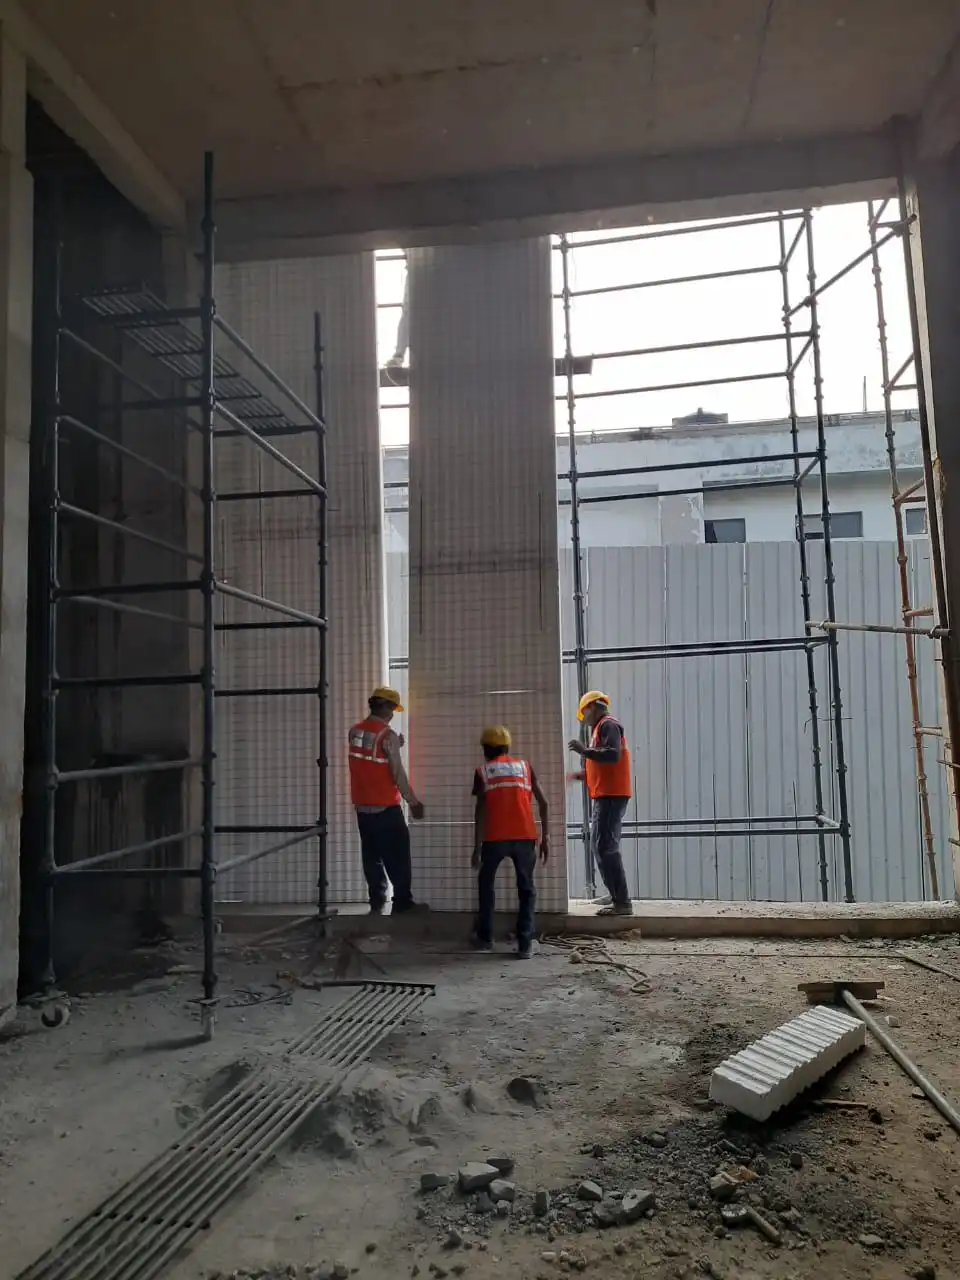
EPS (Expanded Polystyrene) wall panels have gained significant popularity in the construction industry due to their lightweight, energy-efficient, and cost-effective properties. Understanding how to properly install EPS wall panels is crucial for builders to ensure optimal performance and longevity of the structures. Here’s a comprehensive guide for builders on EPS wall panel installation:
Table of Contents
TogglePre-Installation Preparation
Site Inspection: Conduct a thorough inspection of the construction site to assess the condition of the walls and ensure they are clean, dry, and free from any debris or obstacles.
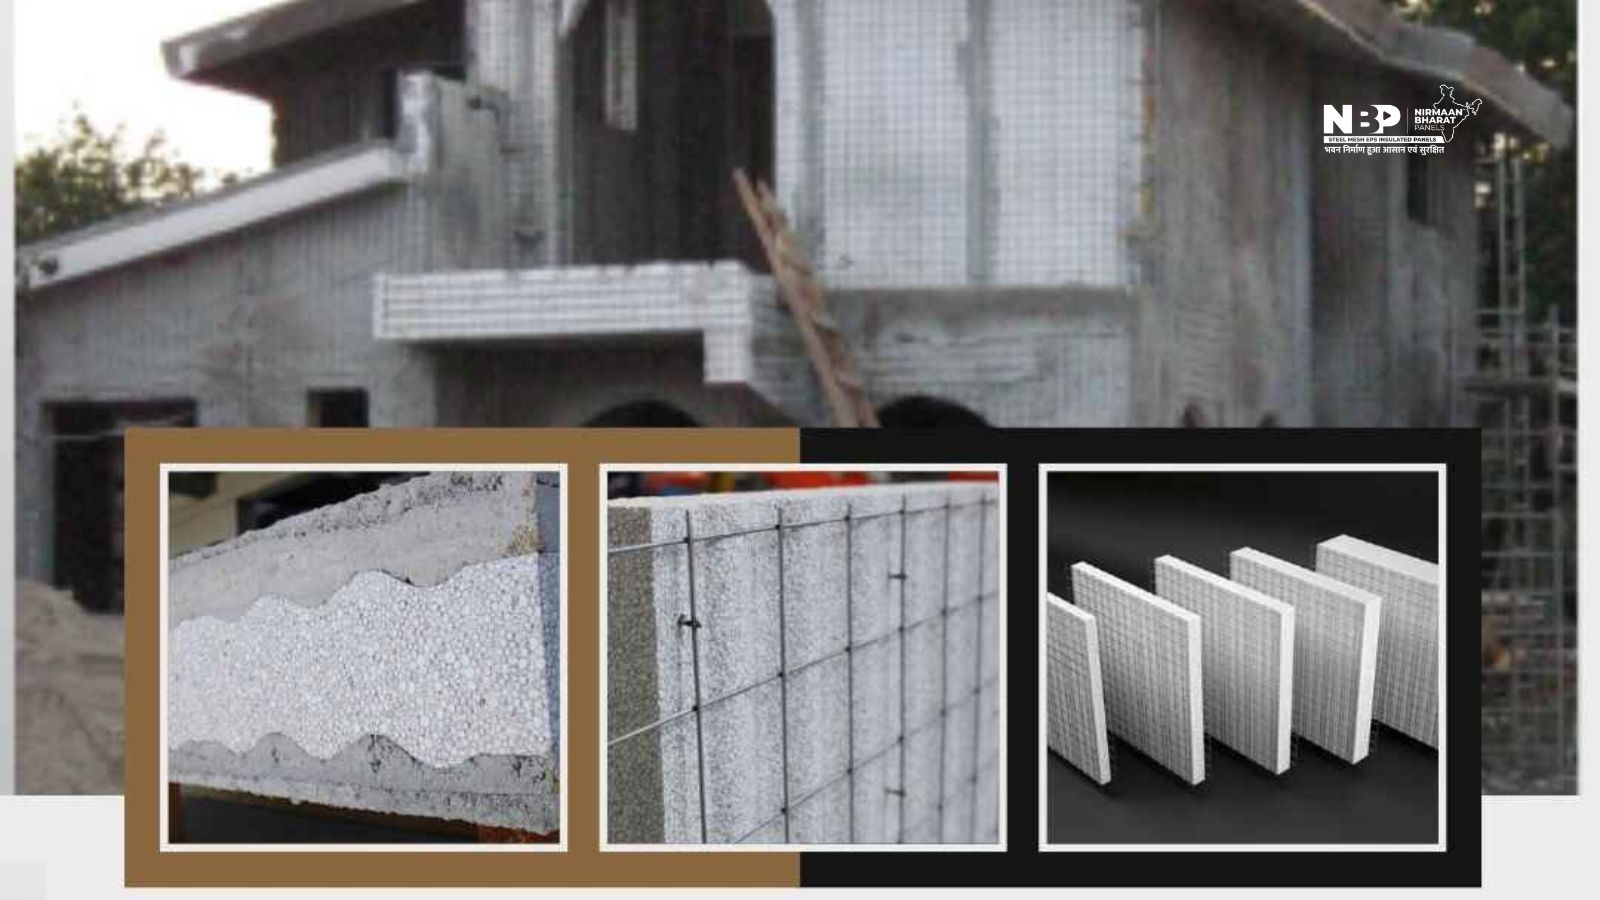
Panel Selection: Choose EPS wall panels that are suitable for the specific requirements of the project, considering factors such as thickness, density, and insulation properties.
Installation Process
Surface Preparation: Apply a primer or adhesive to the wall surface to ensure proper adhesion of the EPS panels. Allow sufficient drying time according to the manufacturer’s instructions.
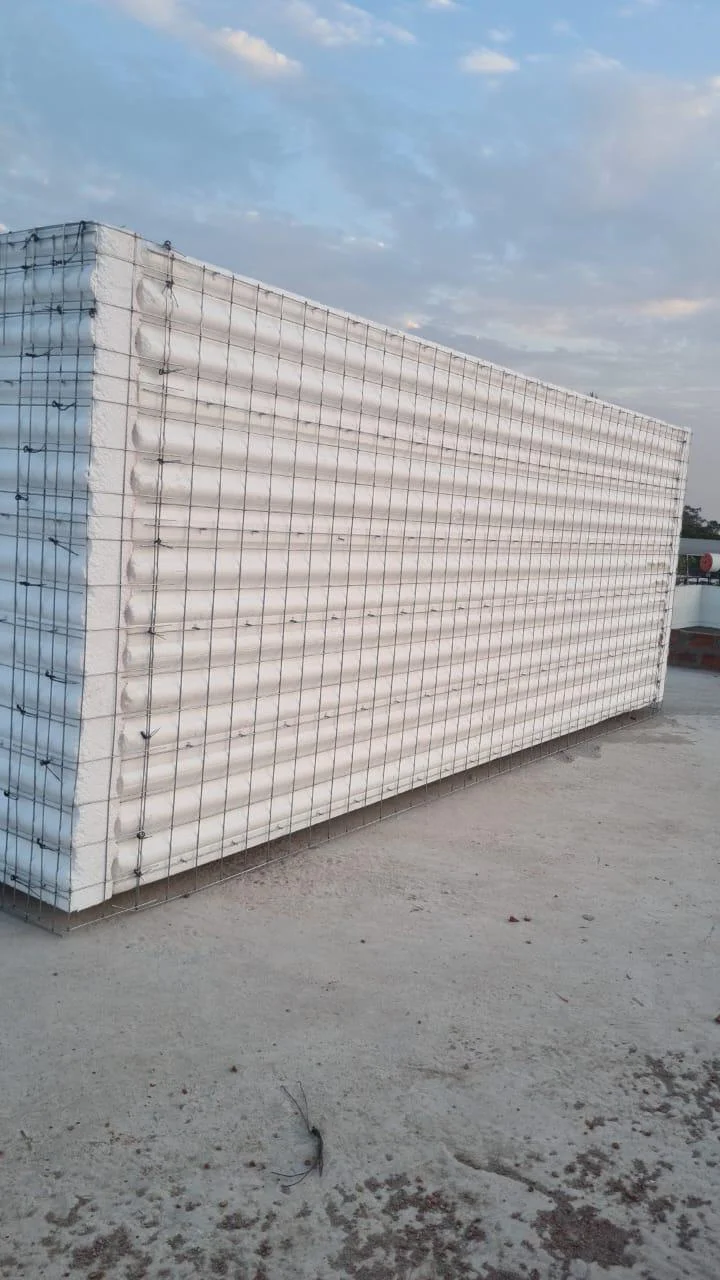
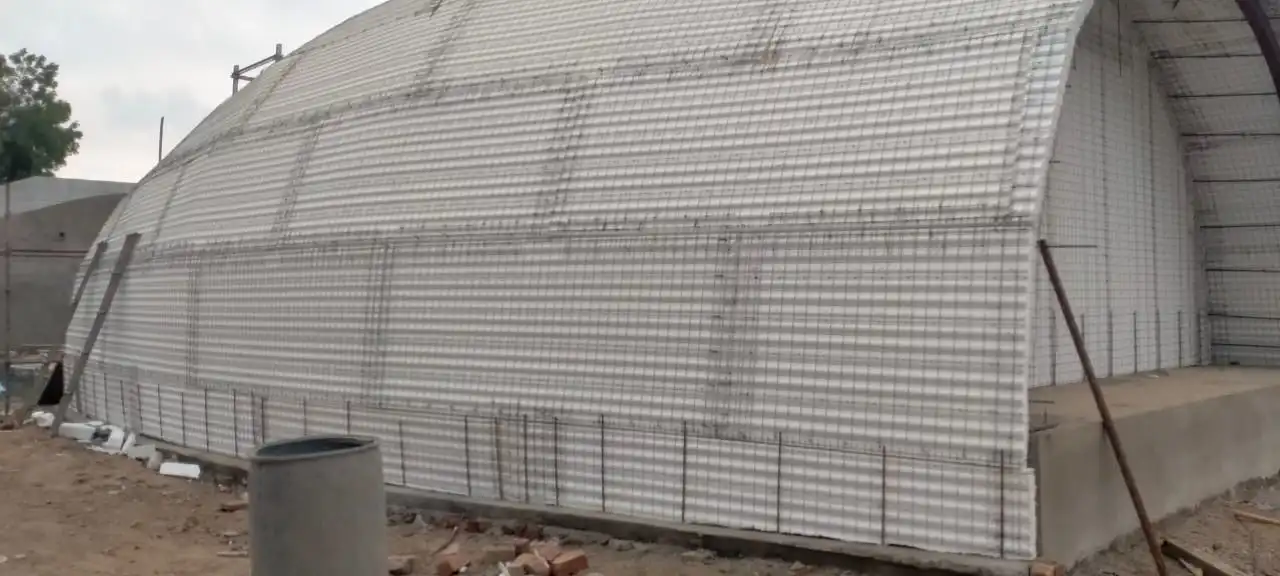
Panel Layout: Plan the layout of the EPS panels, taking into account door and window openings, electrical outlets, and other fixtures. Measure and mark the placement of each panel to ensure accurate installation.
Cutting and Trimming: Use a sharp utility knife or saw to cut EPS panels to the required dimensions. Ensure precise cuts to achieve a seamless fit and proper alignment during installation.
Adhesive Application: Apply a generous amount of construction adhesive to the back of each EPS panel, ensuring full coverage and uniform distribution across the surface.
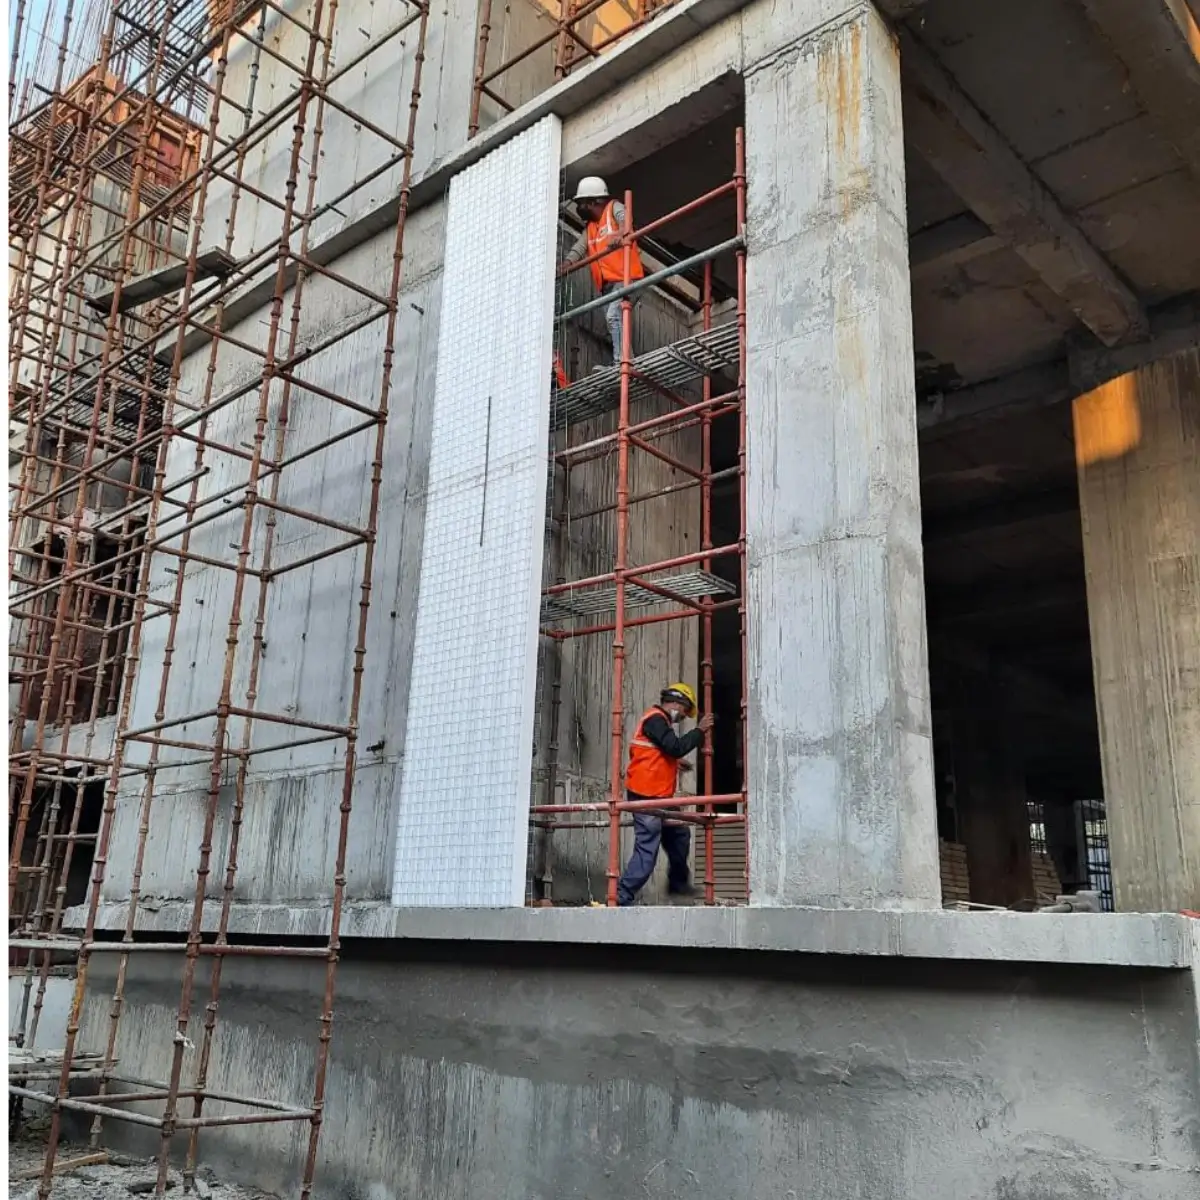
Panel Installation: Press the EPS panels firmly against the wall surface, starting from the bottom and working upwards. Use a level to ensure the panels are plumb and aligned correctly.
Securing Panels: Use mechanical fasteners such as screws or nails to secure the EPS panels in place, particularly around the edges and corners. Ensure proper spacing between fasteners to prevent panel distortion.
Sealing Joints and Gaps: Apply sealant or caulk to seal any gaps or joints between adjacent EPS panels, as well as around doors, windows, and other penetrations. This helps enhance thermal performance and weather resistance.
Post-Installation Inspection
Quality Check: Inspect the installed EPS panels for any defects, damage, or irregularities. Address any issues promptly to ensure the structural integrity and aesthetic appeal of the finished walls.
Finishing Touches: Complete the installation by applying finishing materials such as paint, plaster, or cladding to the surface of the EPS panels, as per the project requirements and design specifications.
By following this comprehensive guide, builders can ensure successful EPS wall panel installation, resulting in energy-efficient, durable, and aesthetically pleasing structures that meet the needs of modern construction projects.


